Find the Right Cooler For You
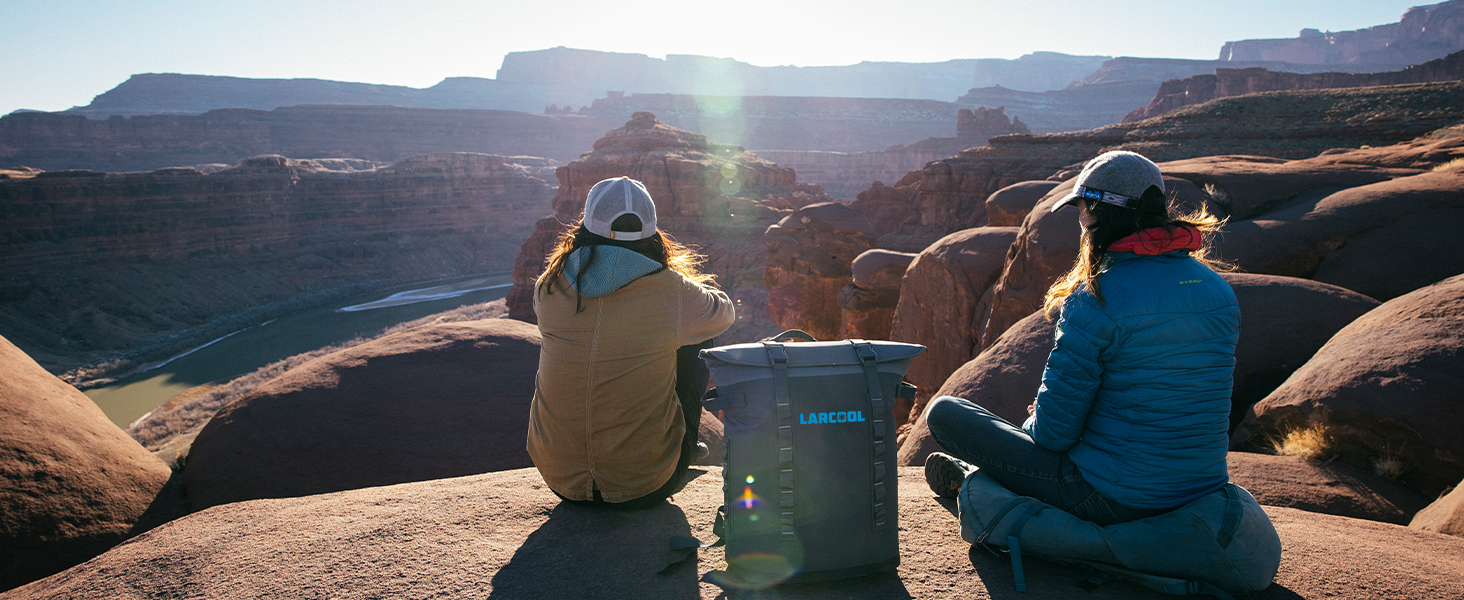
Embarking on a 3-day camping adventure offers a refreshing escape and a chance to reconnect with nature.
Whether you’re heading into the mountains, relaxing by a lake, or settling in at a local campground, food and drink are central to the experience. However, keeping perishables fresh and drinks cold without the convenience of a refrigerator can be a serious challenge. This is where the importance of a well-packed cooler comes in.
Packing your cooler is more than just tossing in some ice cubes and hoping for the best. It requires thoughtful planning, the right equipment, and an understanding of how temperature can impact food safety and convenience.
The good news? With a bit of preparation and the right techniques, you can maintain a chilled and organized cooler that supports your camping gear and meals from the first morning to the final campfire dinner.
This guide walks you through everything you need to know to pack your Larcool cooler for optimal performance, from choosing the right model to packing techniques like a pro. Whether you’re a first-timer or a seasoned camper, these insights will help you get the most out of your cooler and your camping experience.
Before The Trip
Before you even think about packing, it’s essential to get organized.
Getting organized in advance helps prevent stress on the trail and ensures you’re using your cooler to its full potential. From selecting the right model to pre-chilling for peak performance, this stage sets the foundation for cooler success.
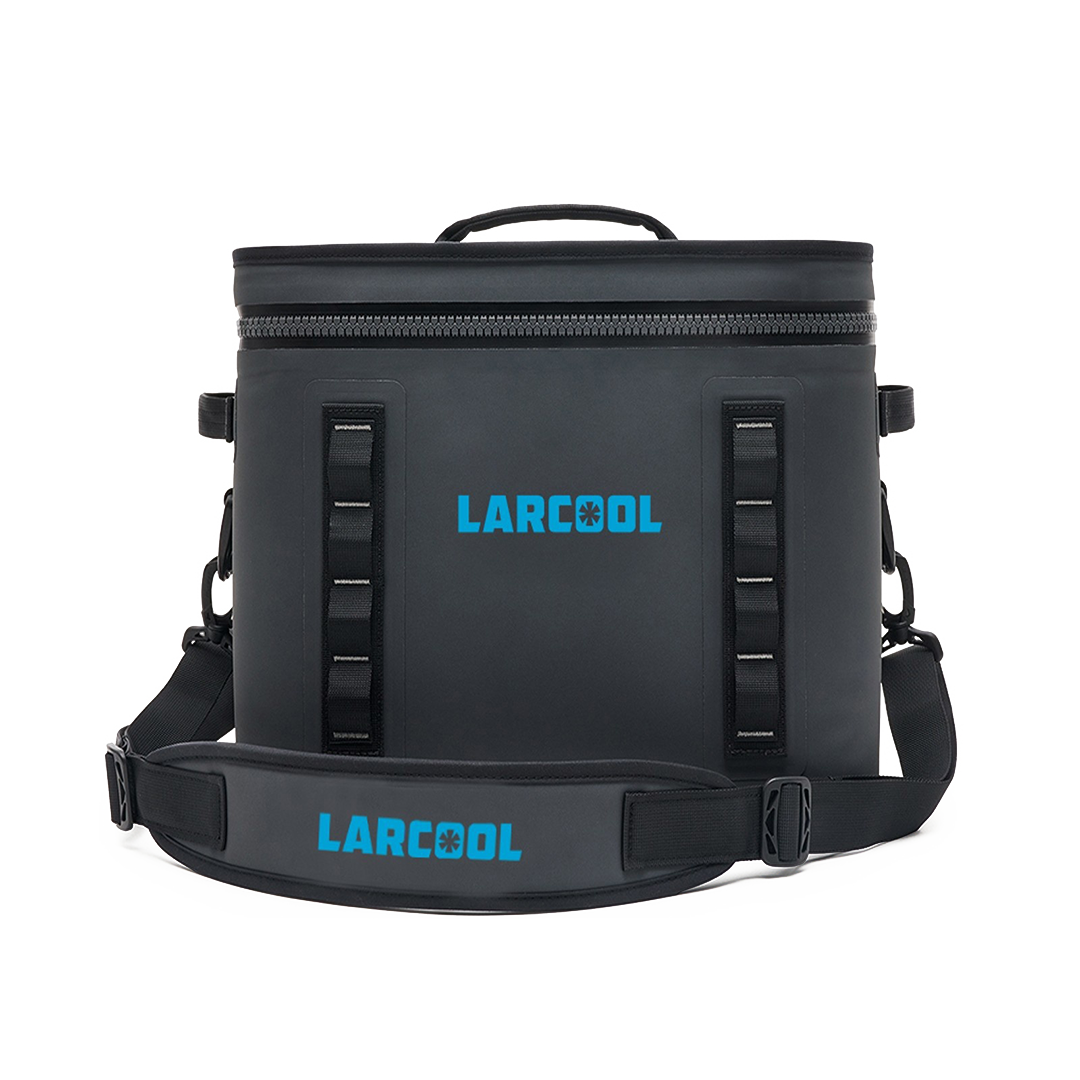
Choose the Right Cooler
Choosing the right cooler isn’t just about size; it’s about performance, durability, and features tailored to your adventure.
For a 3-day camping trip, look for a cooler with thick insulation, a durable exterior, and a design made to retain ice for several days.
Larcool coolers check all the boxes for rugged outdoor performance. With sturdy construction featuring waterproof, puncture-resistant insulation and reinforced seams, they can handle gravel roads, rocky campsites, and unpredictable weather. Whether you’re braving the mountains or camping by the lake, the armor-like build stands up to the elements.
Consider what you’ll be storing. Will it be mostly food, drinks, or both? Some campers even bring two coolers—one for food and one for drinks—to reduce how often the main cooler is opened. These also help retain your camping meals longer.
Thanks to long-lasting cold retention, Larcool coolers hold ice and maintain low temperatures for extended periods, reducing the need for loose ice and making them ideal for multi-day trips.
Pre-Chill Before You Pack
Think of your cooler like an insulated fridge. Would you put perishables in a warm fridge? Probably not. That’s why pre-chilling is crucial.
Before you even begin to pack, make sure to pre-chill your cooler. A day before your trip, load your empty cooler with a bag of ice or frozen gel packs. This lowers the interior temperature and keeps your ice from immediately melting when food is added.
Keep the lid closed and store the cooler in a cool, shaded area if possible. Right before packing, discard the warm-up ice, wipe down any moisture, and begin packing with fresh ice or frozen items.
Consider using a combination of large block ice for long-lasting chill, cubed ice for quick cooling, and gel packs for flexible placement. Less air means less heat circulation so ensure that you fill all available air space with ice or frozen goods.
For extra effectiveness, pre-chill your food and drinks as well. Cold items take less energy to keep cold, which helps preserve your ice longer.
Gather Essential Accessories
The right cooler is important, but so are the tools and accessories that go with it.
Before you head out, consider packing cooler accessories like reusable ice packs, internal bins or trays, and external dry storage. These small items can enhance organization, reduce mess, and even improve thermal performance.
For example, placing a silicone mat or thin cutting board at the base of your cooler adds a layer of insulation and gives you a clean surface for food prep when needed. Internal baskets can help keep your dry snacks or fragile items like eggs from being crushed beneath heavier gear.
Additionally, packing extras like a cooler lock (especially in bear country) and an insulated blanket for added coverage can help you protect your food supply and enjoy your adventure with confidence.
Pack Like a Pro
Now that your cooler is prepped and your gear is ready, it’s time to load up your food and supplies.
Smart packing means less wasted space, better organization, and longer-lasting cold. The trick is to plan your meals, layer items for efficiency, and manage your ice like a pro.
Plan Your Meals
Packing a cooler can be quick and easy, and it starts with strategic meal prep and planning. Think about what you’ll eat for each meal over the three days. This minimizes waste, maximizes space, and ensures you don’t forget essentials.
Cook and freeze meals in advance when possible. For example, freeze your chili or curry in flat bags. Not only do they act as additional ice packs, but they’ll also thaw gradually for later use.
Make a checklist and include breakfast items, snacks, and hydration sources. Don’t forget seasonings, condiments, and treats from the grocery store, like chocolate or marshmallows for s’mores!
Once you’ve mapped out your menu, portion your meals and store them in leak-proof containers or resealable bags. Labeling these containers not only helps you find things faster but also reduces the amount of time your cooler stays open.
Follow this simple strategy to help you enjoy better meals while minimizing food waste:
Day 1 Meals
The first day of your trip is the best time to enjoy highly perishable foods while your cooler is still at peak coldness.
This is the ideal window for frozen foods like fresh fish fillets, deli meats, and soft cheeses such as brie, mozzarella, or goat cheese. You can also bring fresh fruits for extra nutrition. These foods are sensitive to temperature changes, so consuming them early reduces the risk of spoilage.
Day 2 Meals
As the cooler’s interior gradually warms, switch to foods that are less temperature-sensitive yet still flavorful.
Vacuum-sealed proteins like cooked chicken breasts, grilled steak strips, hot dogs, or tofu are excellent options since they’re pre-cooked, mess-free, and less prone to spoilage.
Day 3 Meals
By the third day, rely on foods that are built to last or don’t require refrigeration.
This includes store-bought dried fruits, beef jerky, protein bars, and other non-perishable goods. Hard cheeses like cheddar or gouda resist spoilage much better than softer varieties. Canned goods such as beans, corn, or chili are durable and don’t require refrigeration before opening. Just remember to pack a can opener.
With everything prepped, you’ll avoid rummaging around and risking cross-contamination or melting your ice too quickly.
Pack in Reverse
Efficient cooler packing is all about smart layering. A proven packing trick is to pack your cooler in reverse order of when the items will be used.
The items you need on the last day of your trip should go in first, at the bottom of the cooler, while your Day 1 items go in last and sit right on top. This method ensures you’re not constantly digging through layers of food to find what you need, which helps your cooler stay cold and efficient throughout your adventure.
Pack items in stackable, leak-proof containers. Not only do these prevent messes, but they also use space efficiently. Use labels with meal names and dates to avoid digging around.
Larcool’s reconfigurable storage makes organization easier than ever. With zippered pockets and adjustable dividers, you can separate drinks, meals, and other essentials however you like. Need more room for bulky items? Just remove the dividers and create one large compartment.
Divide Into Zones
Dividing your cooler into zones can prevent cross-contamination and make access easier. Create a meat zone, a produce zone, a dairy section, and a snack area. Keep raw meats at the bottom or in leak-proof containers to avoid contamination.
This layout helps protect more delicate foods and improves efficiency when you’re in a hurry. By knowing exactly where each category is stored, you save time and reduce the need to hold the lid open, which can warm things up quickly.
Zone packing also helps everyone in your group find items without constant assistance. Labeling or color-coding your zones can go a long way, especially with multiple hands reaching in throughout the day.
Cleaning and Storing After the Trip
After your trip, don’t forget to clean and store your cooler properly. Mold, mildew, and odors can easily develop if you skip this crucial step. Treat your cooler right, and it will serve you for years.
Empty and Rinse
Scrub Inside and Out
Deodorize if Needed
If your cooler has developed an odor, create a paste using baking soda and water. Apply it to the interior and let it sit overnight. Rinse well the next day to neutralize any lingering smells.
Sanitize the Interior
Dry Completely
Store Properly
Cooler Management Tips
Once your trip is underway, how you manage your cooler becomes just as important as how you packed it.
Proper cooler management ensures that your food stays cold, your ice lasts longer, and your meals remain safe and delicious for the duration of your adventure.
Keep it Shaded
Limit Lid Openings
Use Dividers and Containers
Refill at Night
Secure Your Cooler
Always close and secure your cooler at night, especially in wildlife-heavy areas. Nocturnal animals like raccoons and bears in some regions can be persistent. Use locks or store the cooler in your vehicle if necessary.
Pack For Every Adventure with Larcool
Camping offers a wonderful chance to disconnect and enjoy the outdoors, but your cooler setup can significantly influence how enjoyable that time is.
A poorly packed or underperforming cooler can result in spoiled food, safety issues, and added stress, none of which belong on your itinerary. By understanding your gear, the science of temperature control, and the needs of your trip, you can set yourself up for success.
Larcool coolers are designed for food-safe maximum performance, and when combined with good planning and best practices, they help make your trip seamless. These small steps go a long way toward ensuring you have access to nutritious meals and cold drinks every day.
A 3-day camping trip should be about fun and exploration, not about worrying about the freshness of your food. Let your Larcool cooler do the heavy lifting.
Whether it’s your first trip or you’re a certified camping veteran, a well-packed cooler is one of the best companions you can bring along. Explore Larcool’s lineup of rugged, high-quality coolers tailored to meet every adventurer’s needs.